Dashing Diva Искусственные ногти Dashing Diva Gel Xtend Design - Graceful Girl, 30 штук, стойкость 14 дней и профессиональный дизайн
нет отзывов
Артикул: 9767969
Цвет: Нет цвета (N/A)
Размер: N/A
1 330 ₽
Описание товара
Переведено автоматически
Искусственные ногти с эффектом LED, готовые к использовании, созданы для мгновенного результата в стиле салона. Достигайте длины, дизайна и прочности, которые сохраняются в течение 14 дней, всего в два простых шага.
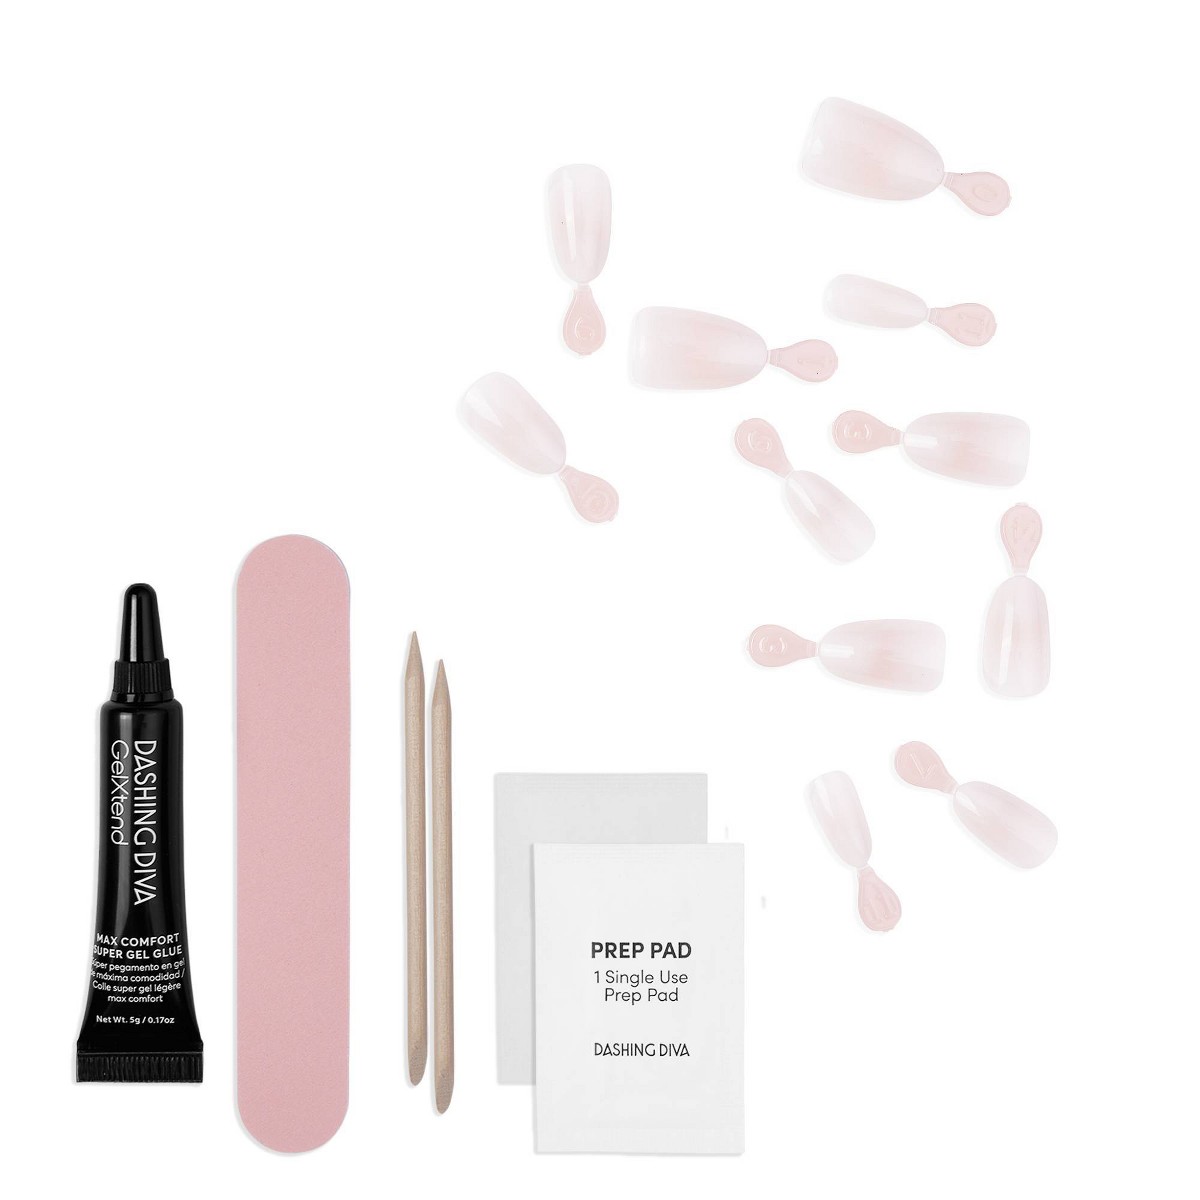
В комплект входят: 30 ногтей в 12 размерах, 1 супер клей Max Comfort (5 г), 1 мини-двусторонняя пилочка и бафф, 1 деревянная маникюрная палочка, 1 подготовительный подушечка и 1 инструкция.
Важные преимущества:
- Профессиональный дизайн ногтей с эффектами
- 14 дней стойкости
- Комфортный 'эффект подушки' мягкого геля
- Предварительно подготовленные ногтевые tips для лучшего сцепления
- Суженные края кутикулы для безшовного вида
- Не требуется праймер или бонд для укрепления
- Без растворимого снятия для более здоровых ногтей
- Легкое, безвредное снятие с помощью Magic Off+
Есть вопрос? Напишите в чат
https://usmall.ru/image/000/00/00/d1d587a522b510ef5bd759a14c4137c7.jpeg
Dashing Diva
Искусственные ногти Dashing Diva Gel Xtend Design - Graceful Girl, 30 штук, стойкость 14 дней и профессиональный дизайн
1 330 ₽